Getting started
Learn how to set up Clarify and navigate to find what you need quickly.
Follow this essential setup checklist to maximize Clarify's impact from day one:
Essential setup checklist
Complete these settings in order to get the most out of Clarify:
- Add your company email domains - Help Clarify identify your team
- Describe your business - Give Clarify context about what you do
- Set up call recording preferences - Choose how you want meetings recorded
- Configure email filtering - Control which emails sync to Clarify
- Connect your accounts - Sync your email and calendar
These settings can be accessed in the Settings menu of your workspace. You'll find this in the bottom left corner of your account.
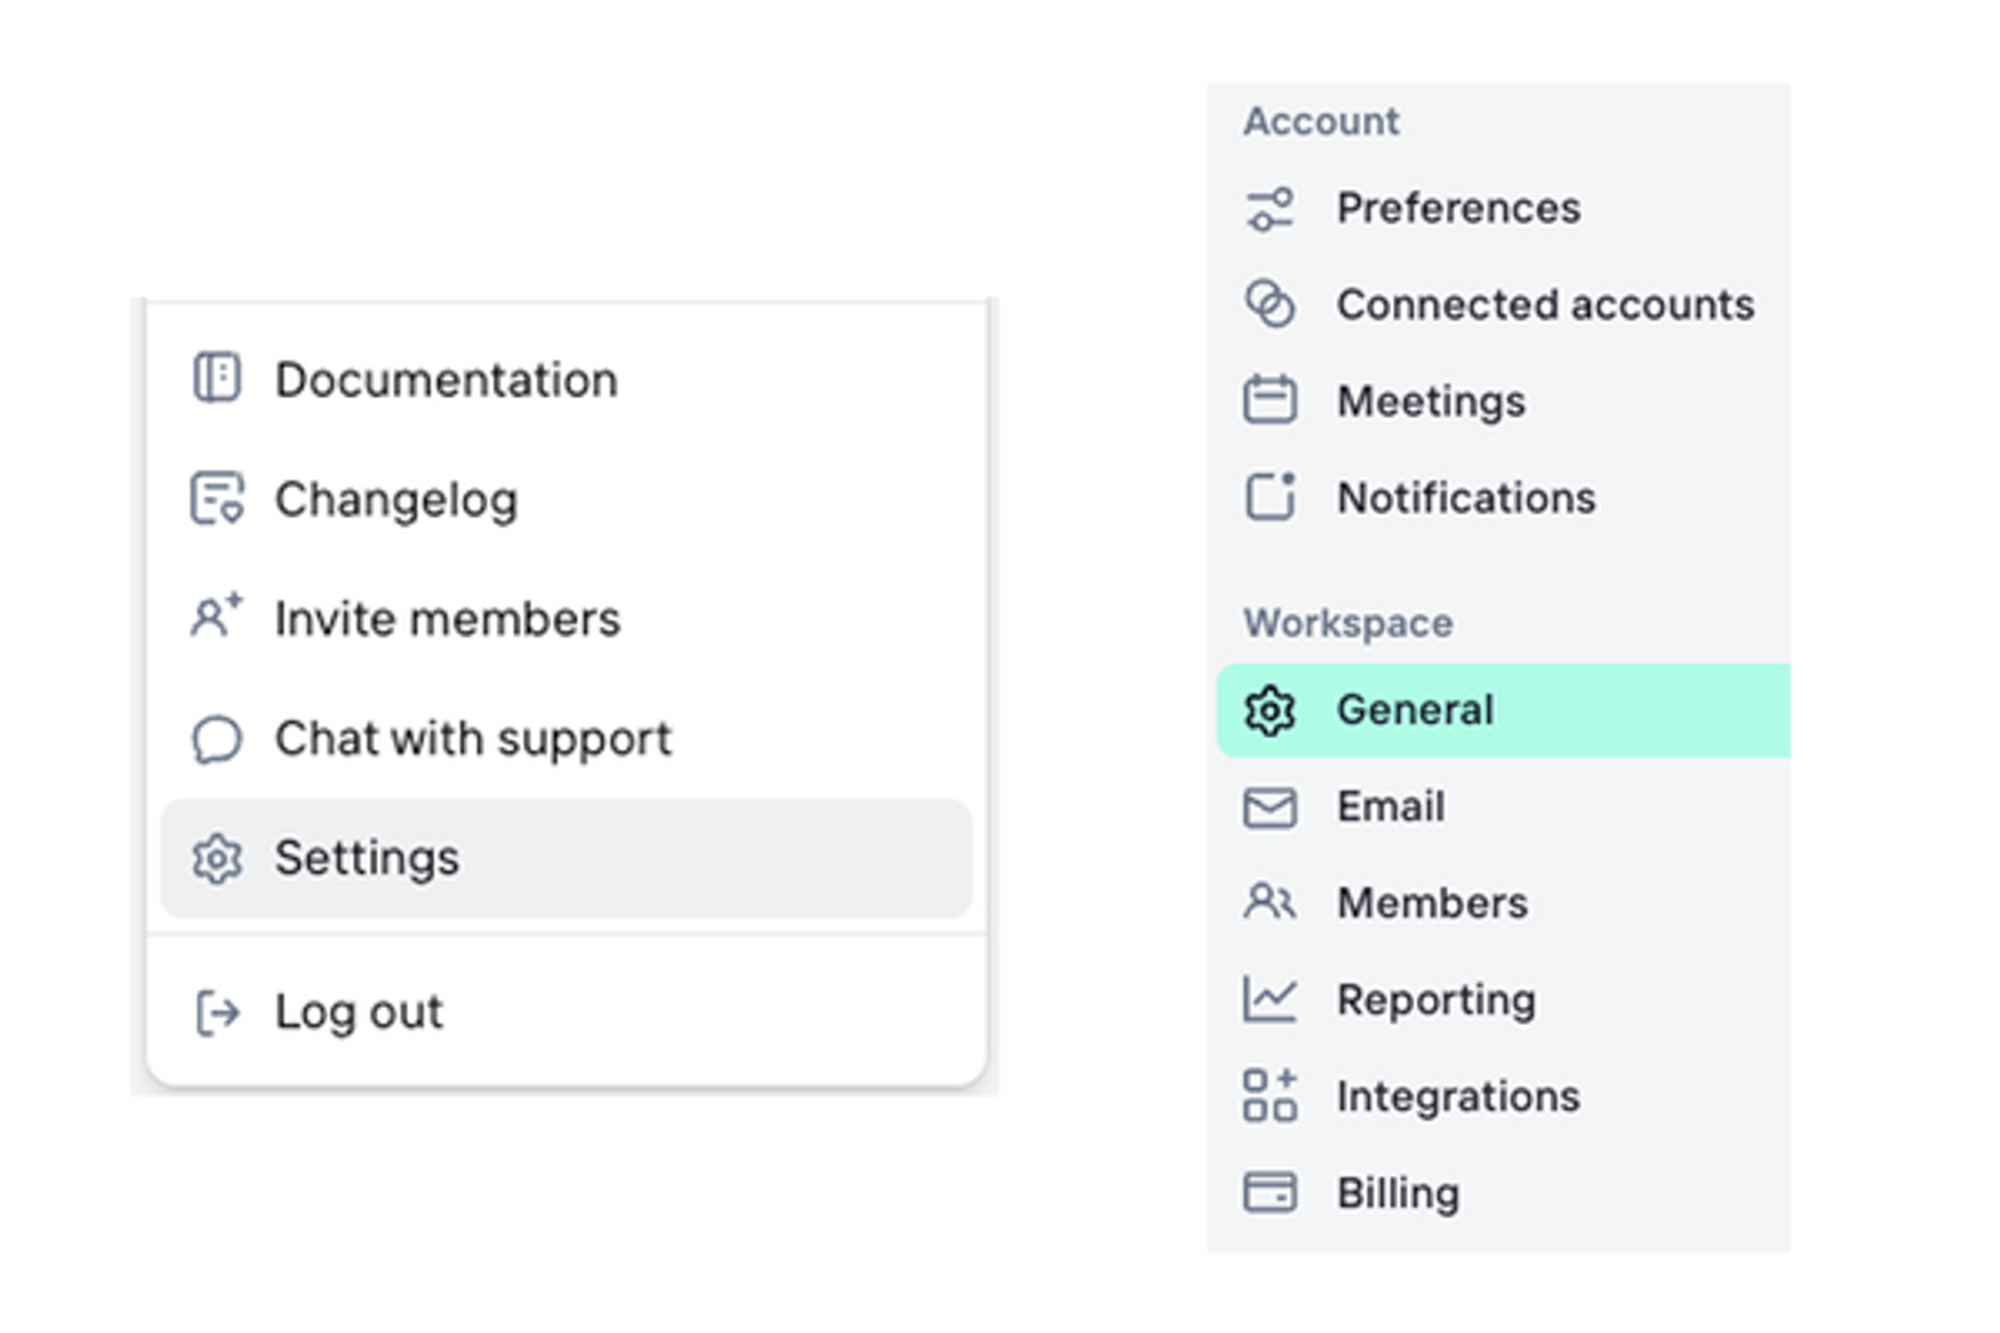
Your settings are organized into two main sections:
- Account: Settings unique to you that override workspace-level settings
- Workspace: Settings that affect everyone in your workspace
- Also includes: Reporting settings, Integrations and Billing details
Workspace settings
Important: These settings affect everyone in your workspace.
Step 1: General settings
Add your company email domains
Navigate to Settings > Workspace > General settings and add all email domains your team uses.
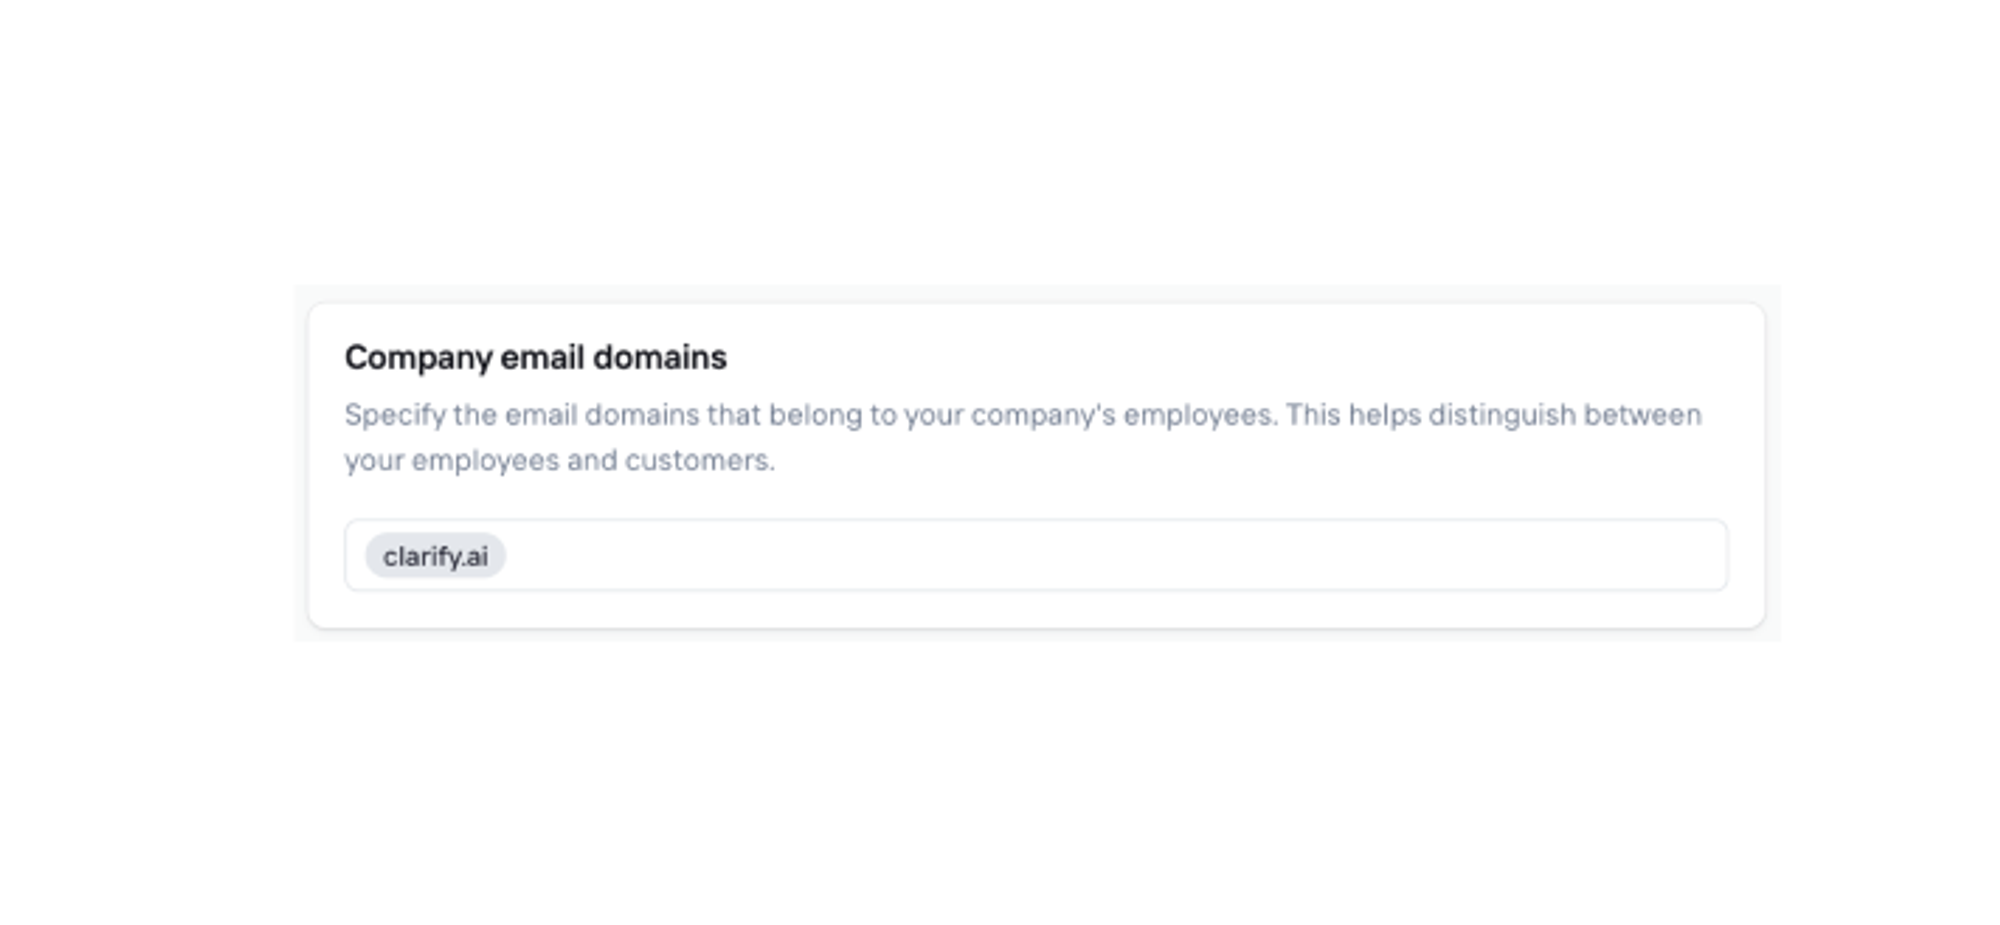
Why this matters: This helps Clarify distinguish between your team members and external contacts, ensuring your data is organized correctly from the start.
What to include: Add all domains used by anyone on your team who will use Clarify (like @yourcompany.com, @subsidiary.com).
Set up call recording (Workspace setting level)
Choose your default recording behavior in Call recording settings.
- External only (recommended): Records meetings with external participants only
- All: Records every meeting automatically
- None: No automatic recording - you'll manually start recording
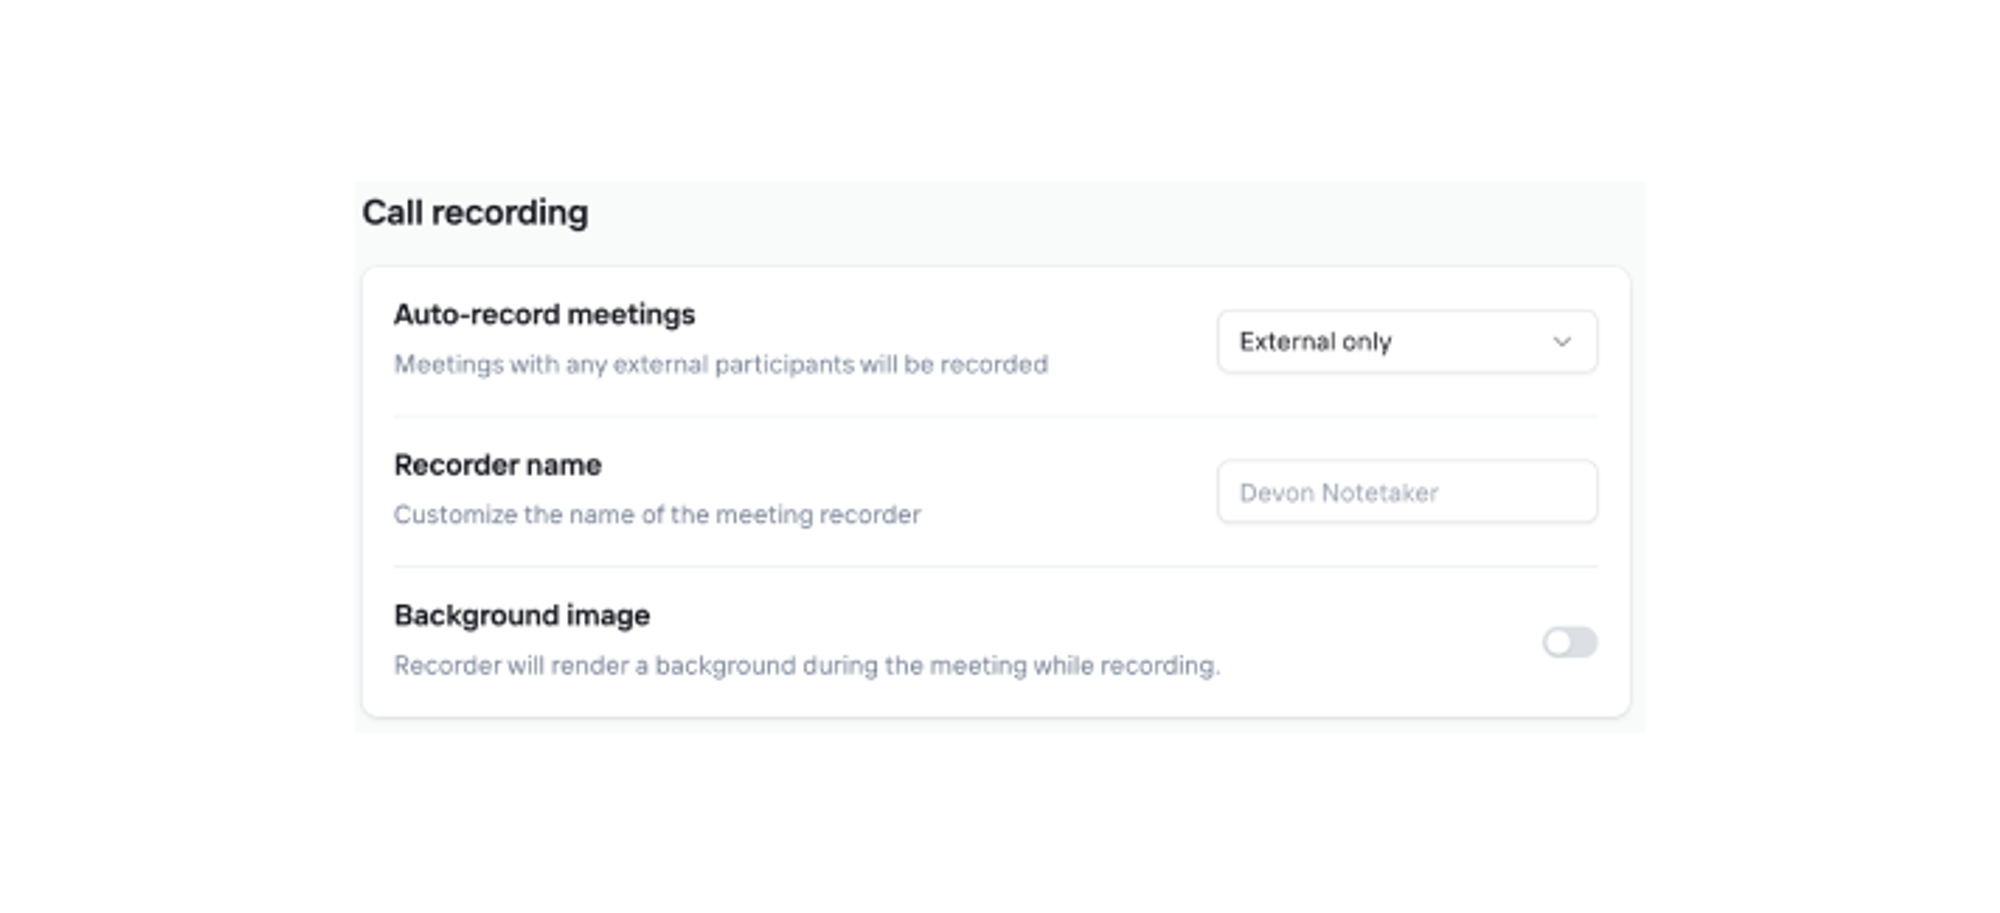
Why this matters: Recording the right meetings ensures you capture important conversations without overwhelming your system with internal calls.
Step 2: Intelligence settings
Describe your business
Help Clarify understand your company by providing details about your business, products, services, and ideal customers. This context enables Clarify to deliver more relevant insights and better identify opportunities in your communications.
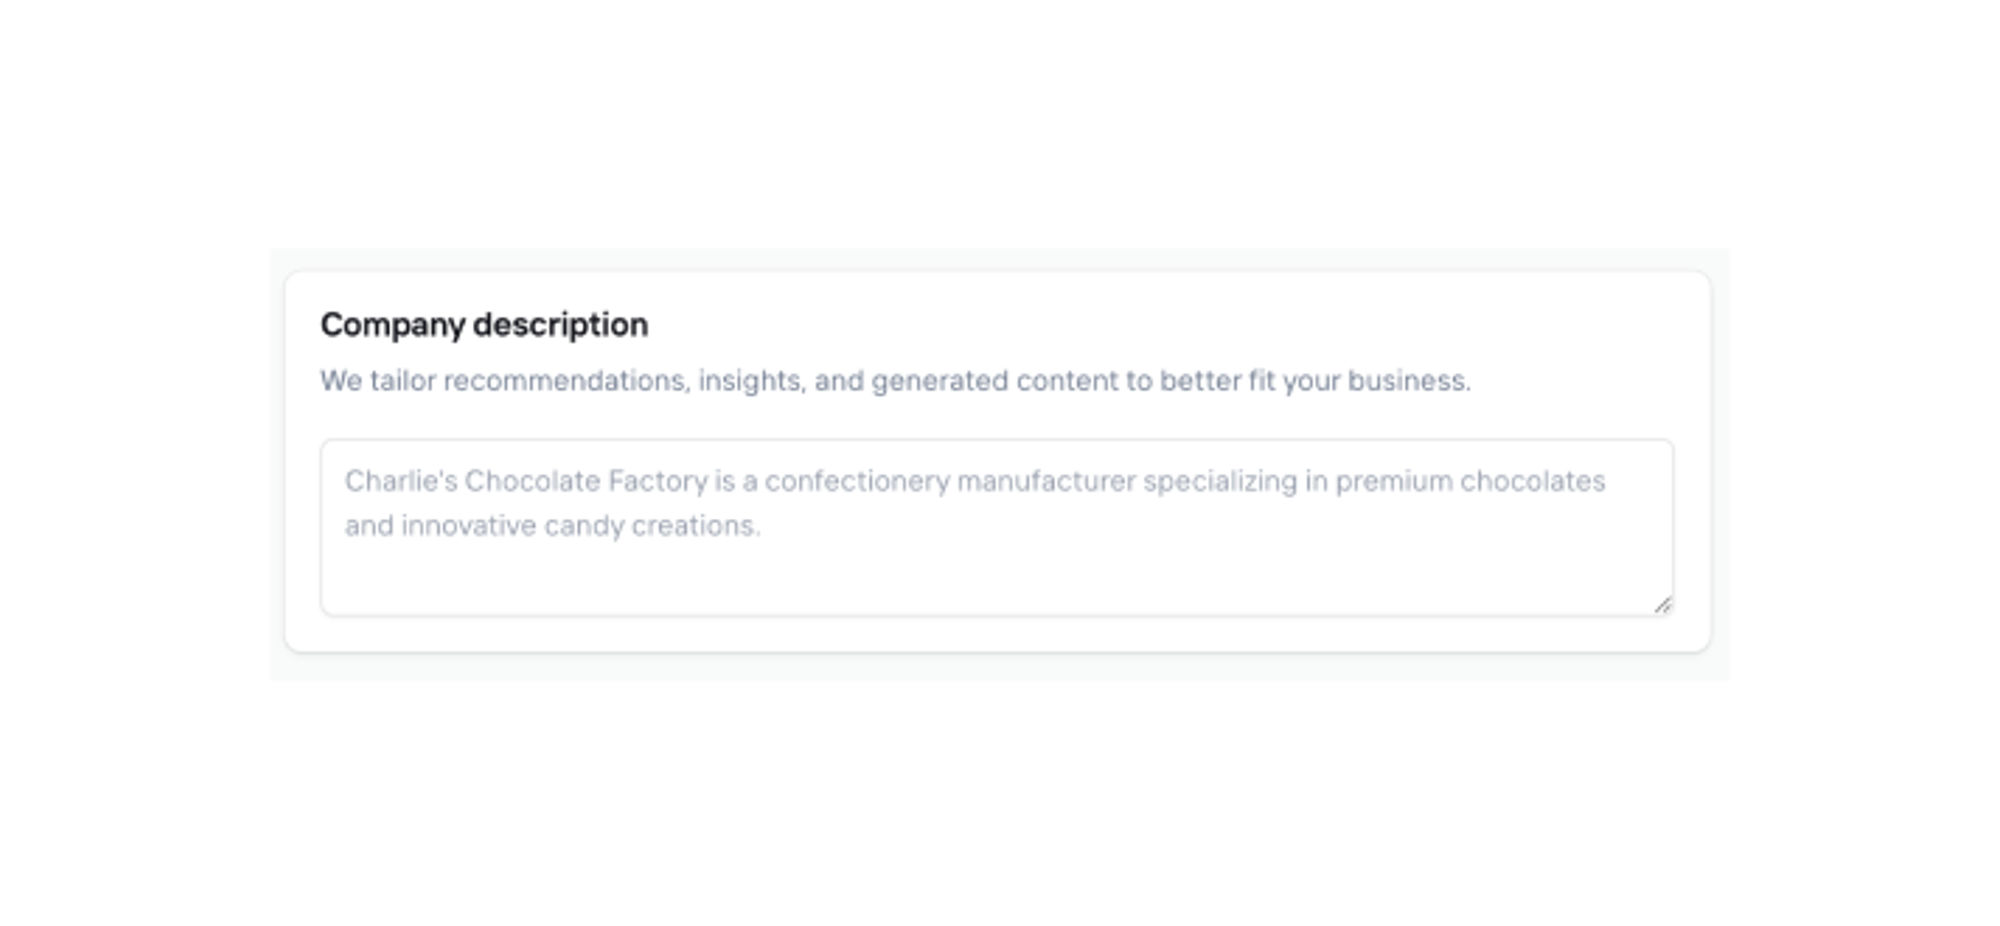
Why this matters: This context helps Clarify understand your conversations and provide better recommendations. The AI uses this to identify potential deals and understand business fit.
What to include: Your business model, ideal customers, key products or services, and what signals indicate a sales opportunity.
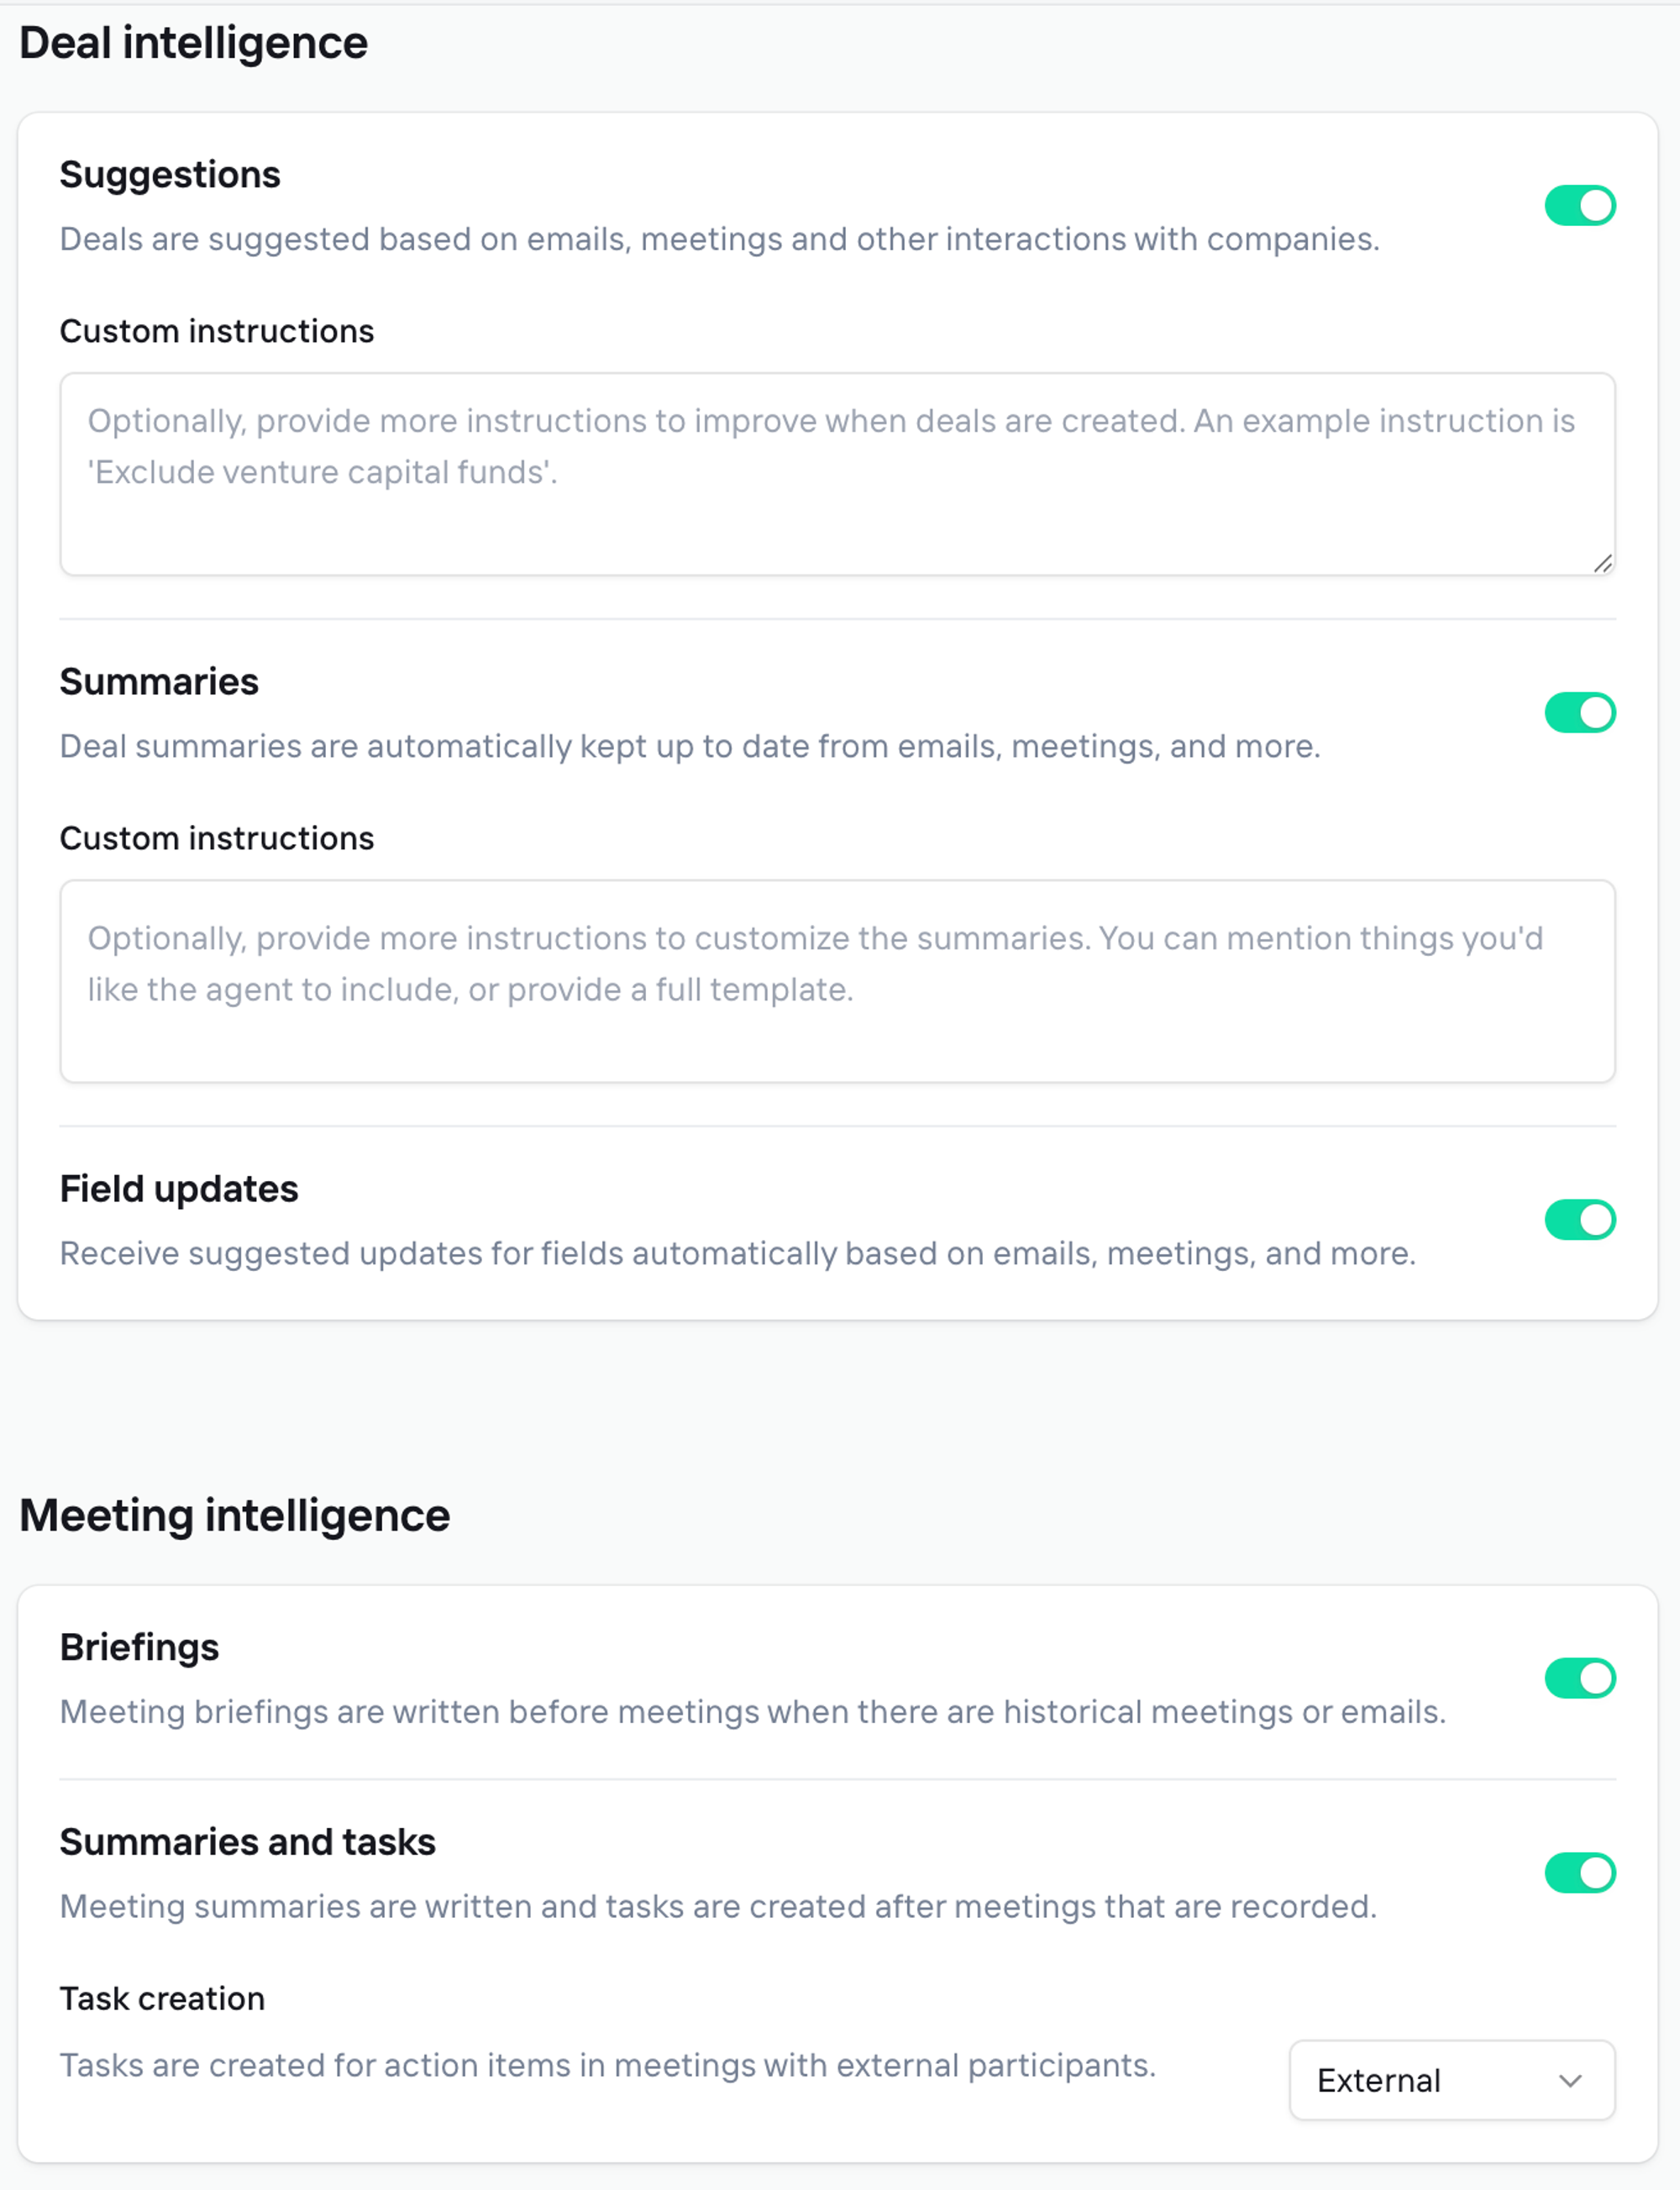
Deal intelligence and Meeting intelligence
Provide detailed context in these intelligence settings to help Clarify accurately identify potential deals and generate highly relevant summaries. The more specific you are about your deal criteria, sales process, and key information, the better Clarify can surface opportunities and insights from your communications.
You have full control over which AI features are active—enable the intelligence capabilities most valuable to your business to strategically manage your credit usage and focus resources on what matters most.
Step 3: Configure email and meeting filtering
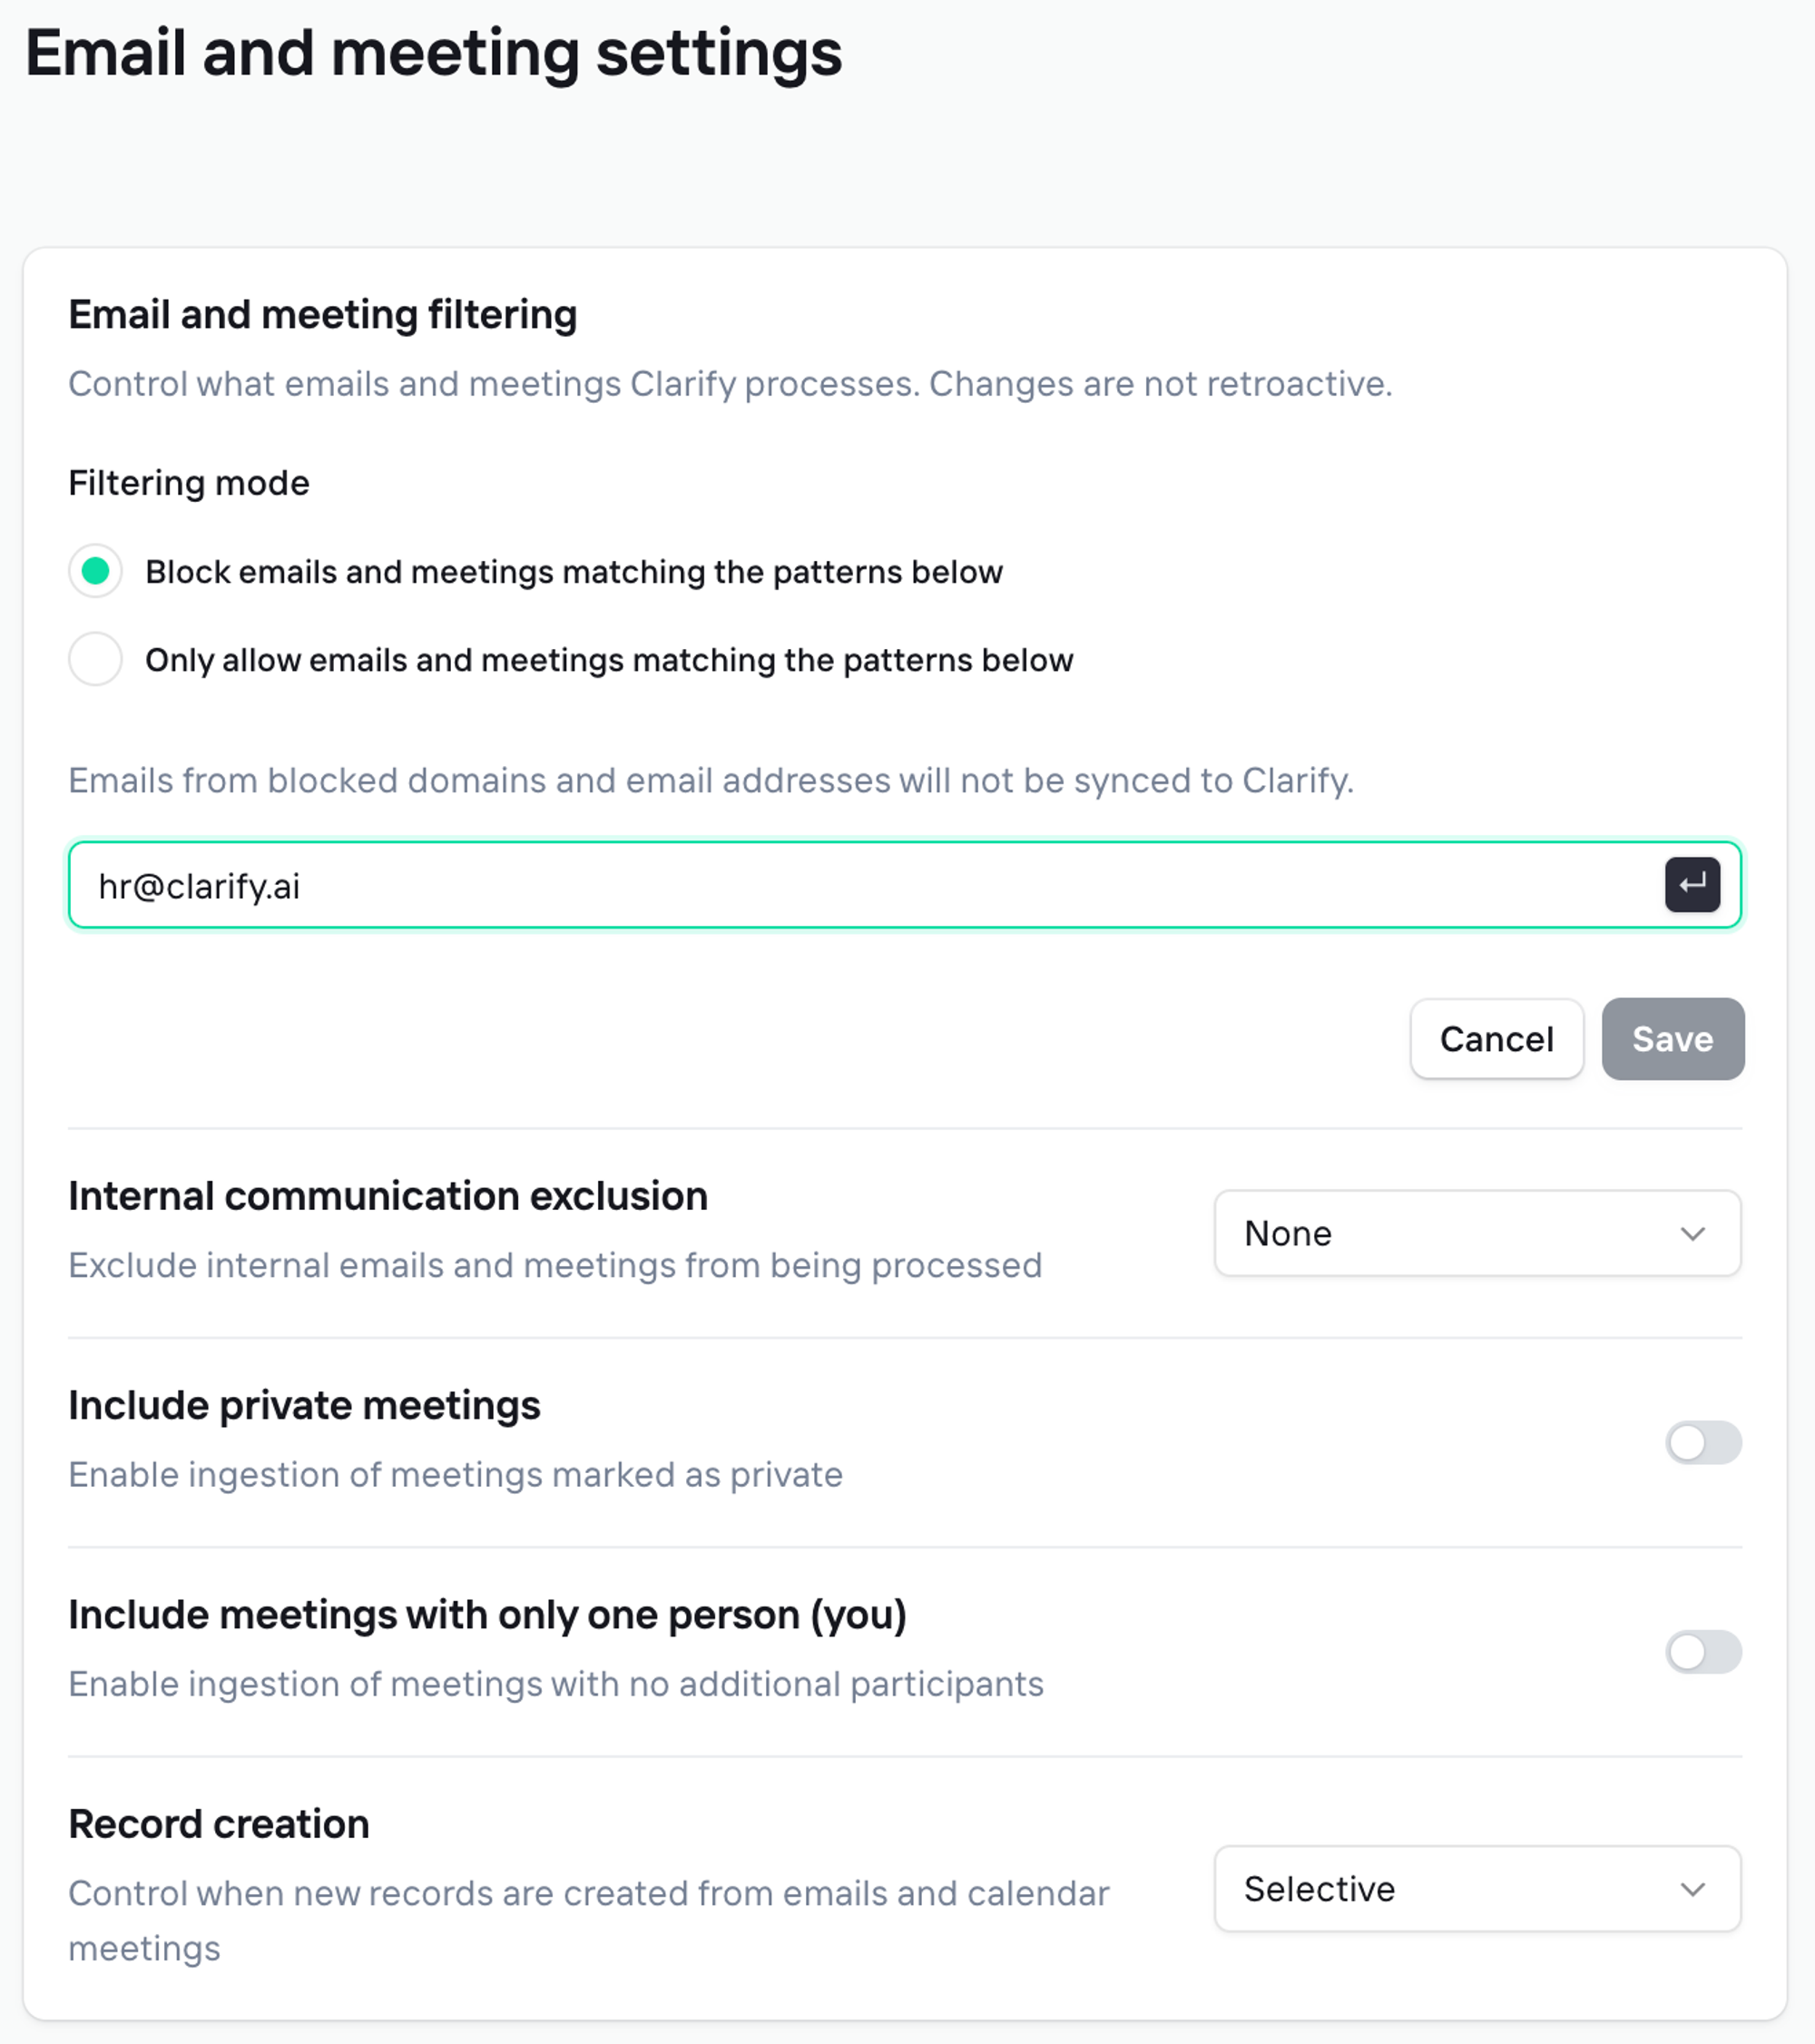
Configure filtering settings to control what syncs to Clarify and keep your workspace focused on relevant communications.
Email filtering:
Control which emails sync to Clarify using blocklists for specific domains or email addresses—excluding personal emails, HR correspondence, newsletters, or other non-business communications.
Internal communication exclusion
Leverage this setting to customize what internal only communications sync back to Clarify. We leverage the Company email domains setting to identify what is considered internal. You can select for no internal communications, email only, meeting only or all communications to sync.
Include private meetings
By default, we respect your privacy, private meetings are not ingested. If you prefer to have all public and private meetings syncing back to Clarify, enable the setting to include all private meetings.
Include meeting with only one person (you)
Control whether meetings where you are the only attendee sync to Clarify.
Why it matters: Single-person meetings are excluded by default as they typically represent personal appointments (meeting blocks, errands, etc.) rather than business interactions relevant to your CRM.
Record creation rules:
- Always: All emails create records except those you block
- Selective: Only emails you reply to create contact records
- Disabled: No emails create records automatically
Why this matters: This keeps your CRM clean by only including relevant business communications.
Account settings
Important: These settings are unique to each user and override workspace-level settings.
Step 4: Connect your accounts (most important step)
This is the most critical step - Clarify needs access to your email and calendar to work effectively. Navigate to Settings > Account > Connected accounts and connect your email and calendar.
What happens when you connect:
- Clarify imports your email history and creates contacts for everyone you've communicated with
- Your calendar events sync and Clarify identifies meeting participants
- Company information gets automatically enriched from trusted sources
- Clarify begins analyzing conversations to identify potential deals
- Meeting summaries and follow-ups start generating automatically
Important: Clarify can only help you manage relationships it can see. Without your inbox and calendar connected, features like meeting briefs and automatic record updates won't work.
How to sync Email and calendar
You can click the “Connect” button to begin authenticating with Google or Microsoft. Once authenticated, the syncing will happen in the background.
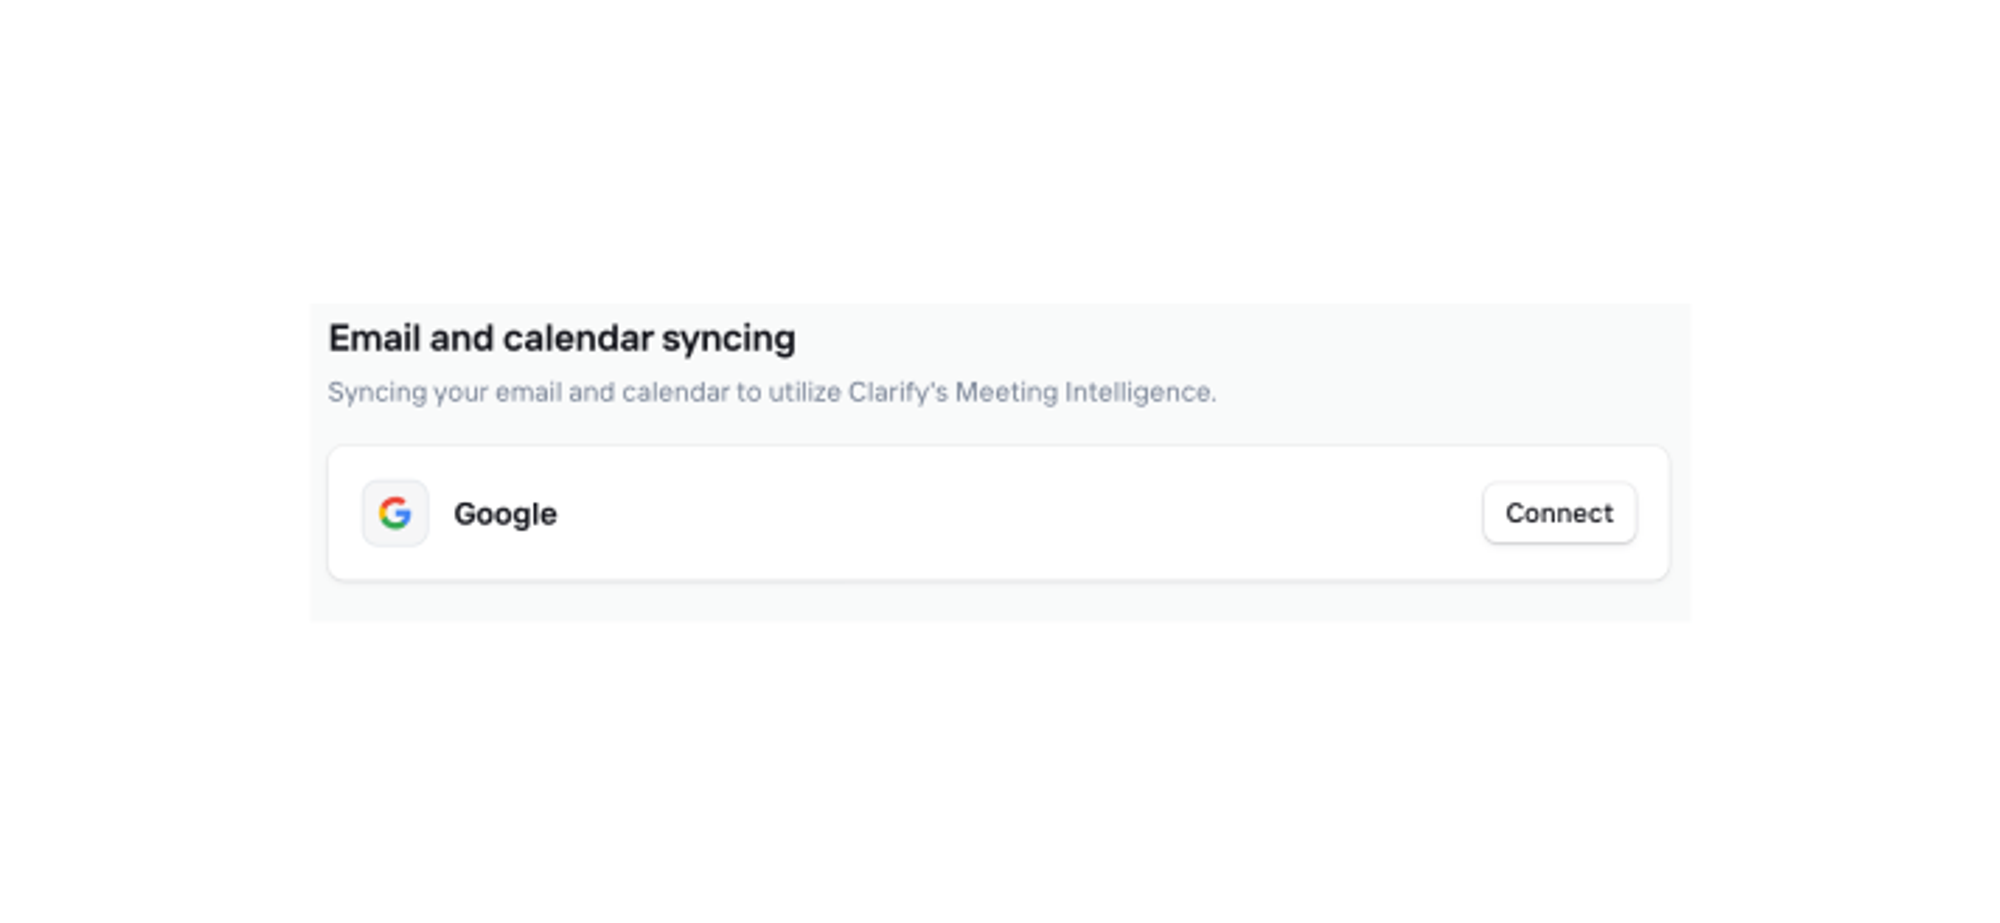
You'll see a progress bar during the integration process. When complete, your Companies and People will be populated with email history and enrichment data.
Channels
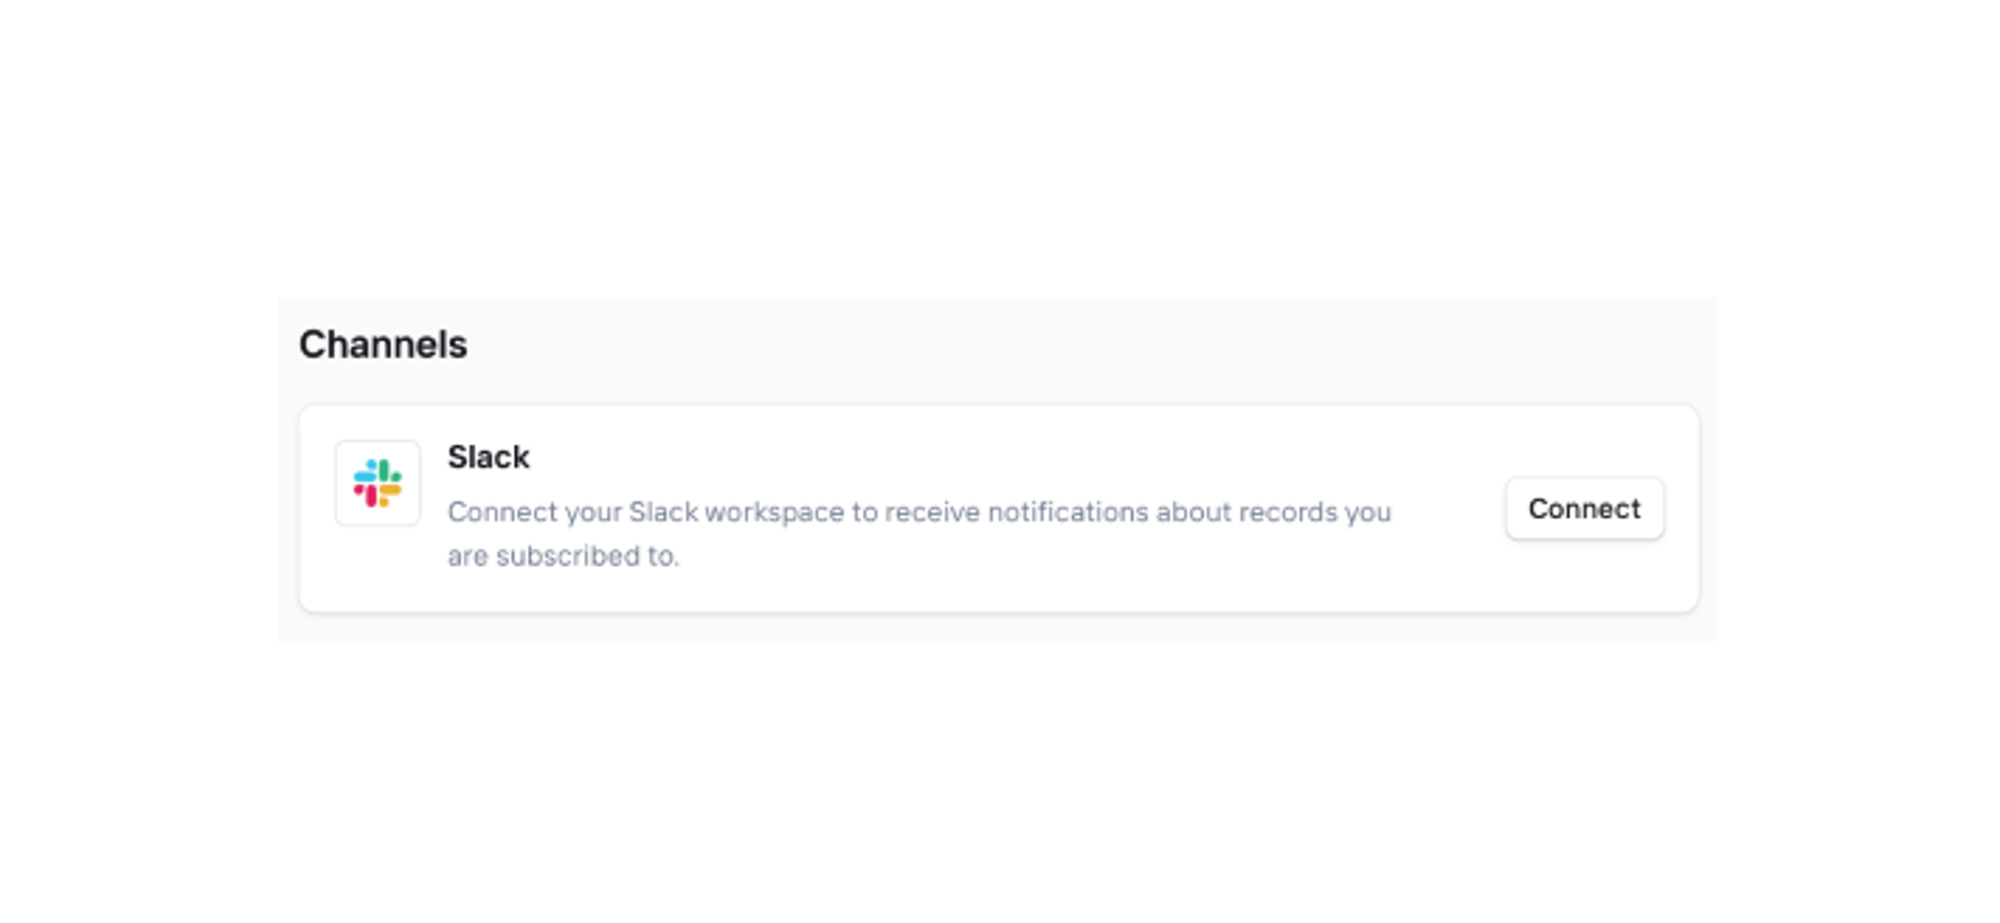
You can configure Slack to automatically get notifications based on what you configured in the “Notifications” page.
Meetings
To complete recording settings ensure your individual meeting recording settings are set to your specifications. Select between External Only, All or None to ensure relevant calls are captured in Clarify.
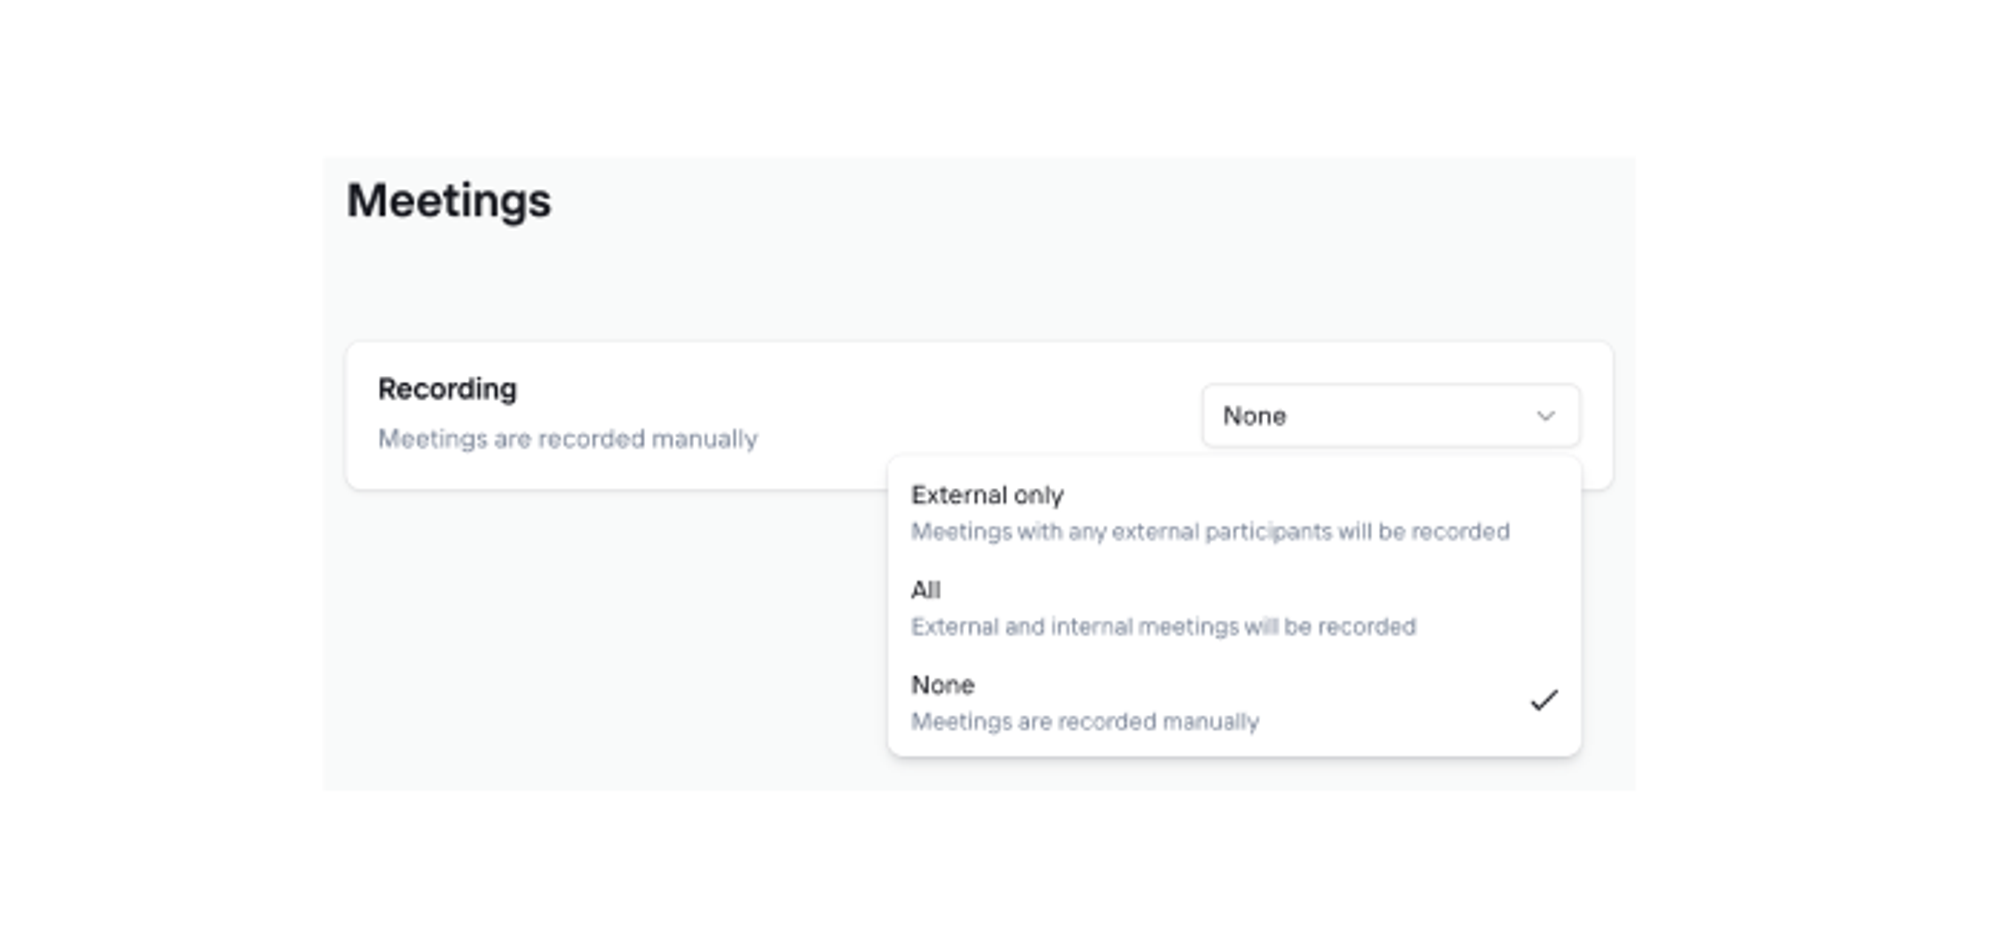
Why it matters: Your Account-level recording setting overrides the Workspace-level setting. Make sure this reflects your individual recording preferences.
You're all set!
After completing these steps, your home page will show your daily briefing with tasks, meetings, and insights. You'll also receive a daily email briefing each morning.
Need more detailed settings? Visit the full workspace settings documentation for advanced configuration options, reporting setup, and team management features.