CSV import
Overview
This document outlines the process and details for importing a csv to Clarify.
User workflow
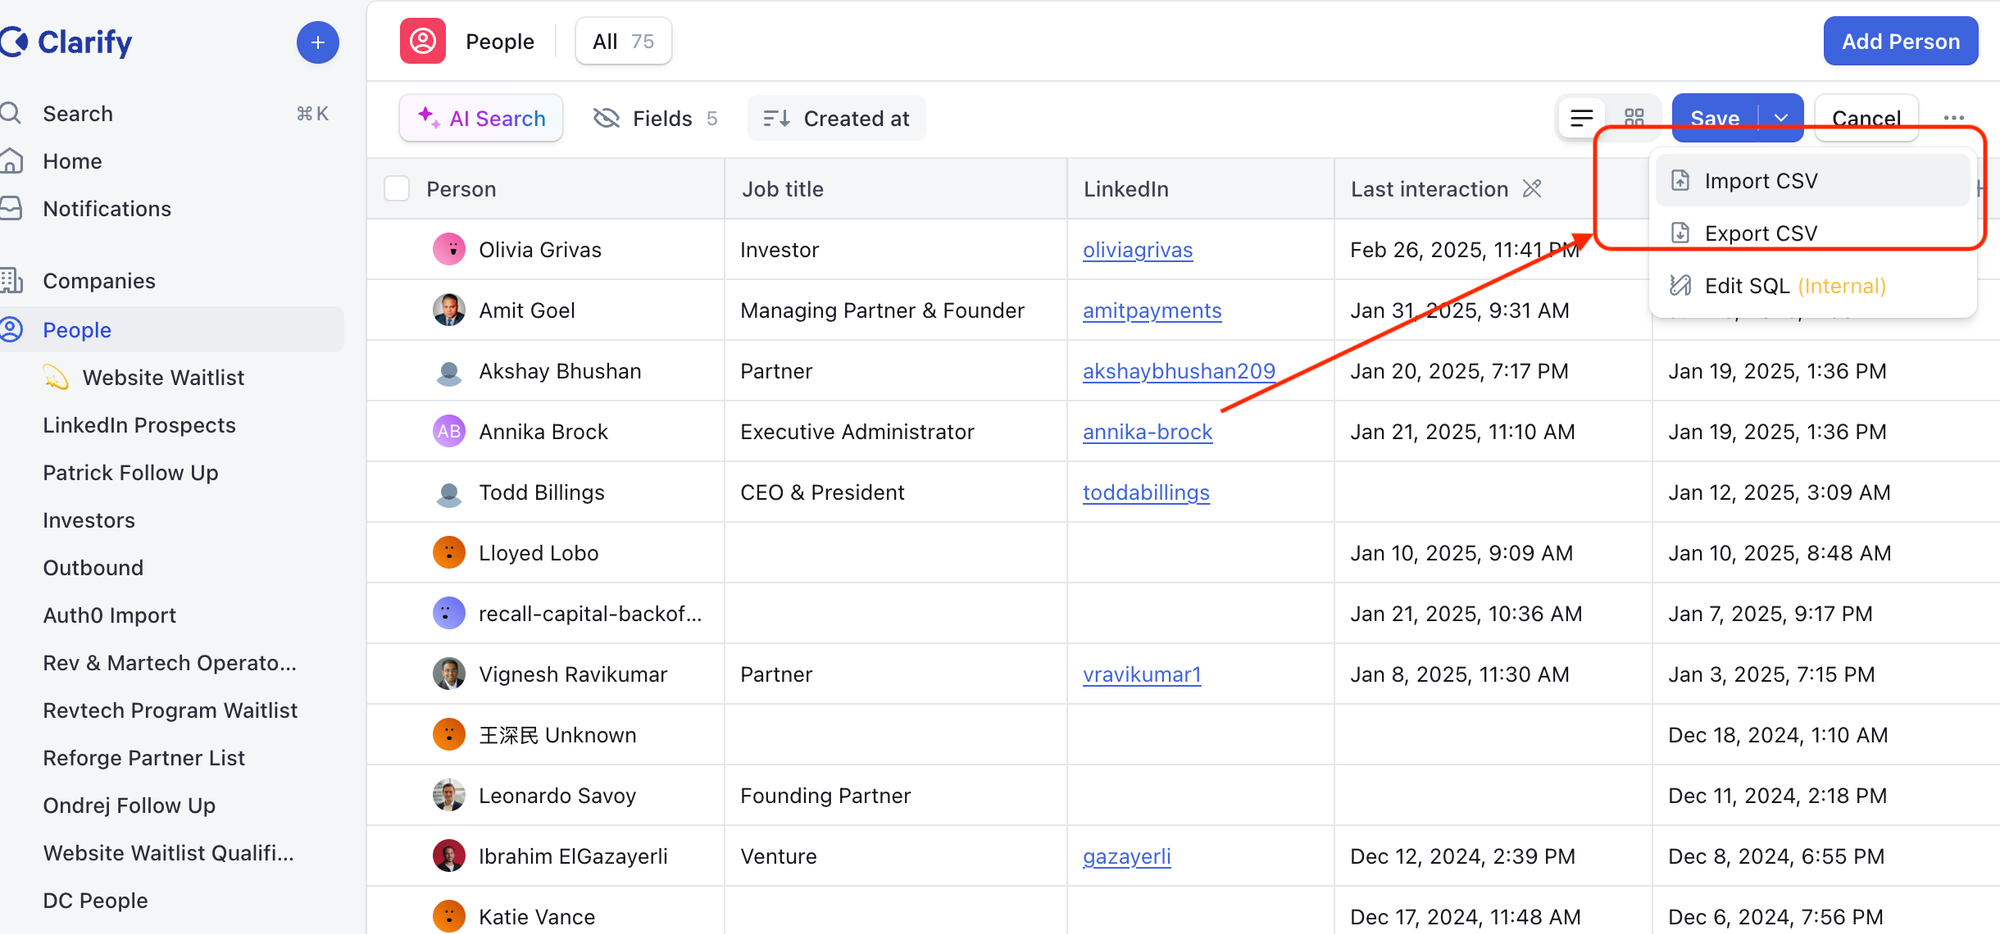
To get started, click the three dots in the top right of the people or companies screen, or any list, and click “import csv”
1. File upload
- Users must upload a CSV file.
- The first row should represent column names.
2. Field mapping
- The system attempts to automatically map fields.
- Users manually match any unmatched fields.
- Supported field types: string, number, boolean, date, single-select enum.
3. Data validation and editing
- Inline table view for reviewing and editing data.
- Errors are highlighted and must be resolved before proceeding.
4. Data import
- Once errors are resolved, users can finalize the import into the selected list.
Error handling
- Errors such as duplicates or schema mismatches (e.g., unknown enum options) are flagged.
- Users can correct errors and retry the import.
- The system provides detailed feedback to assist in resolving issues.
Relationships handling
- Basic relationships are supported.
- A person’s email domain can be used to link them to a company.
- If a company for a given domain does not exist, it is created automatically.
- A deal can be assigned to a single company and/or a single person.
Large file support
- Imports support files with 10,000+ rows.
- Users are not required to remain in the browser during the entire import process.
Need help? Contact support@getclarify.ai